How to Insulate Your Shed in 3 Easy Steps
Published: September 16, 2025
Published: September 16, 2025
Cold, wet, and dark. That’s the kind of weather we have to look forward to this winter — and every winter after. It’s no surprise sure, but it’s not exactly pleasant either!
Particularly when it comes to your garden shed. After all, who hasn’t had to rummage around in the dark and cold to find something stuck in a lonely corner of your shed. But, if you’d prefer to keep your garden shed warm, bright, and dry this winter (and beyond), then you’re in the right place.
Insulation is exactly what you need to protect your shed from the winter gloom! We’ve spoken about the benefits of insulating your shed before, and we very likely will again. We’ve even made a quick video guide to quickly guide you through the process installing Bubble Foil insulation into your shed.
However, if you’d like more guidance than we could fit into this 50-second video, including insights into more products than just Bubble Foil, you’re in the right place!
This quick guide will take you through the 3 main steps of any successful shed insulation project, so let’s not keep you waiting any longer…
It’s a poor workman that blames his tools, sure. But, it’s an even worse one that doesn’t make sure to get his hands on the right materials for the job at hand. And that’s why the first step in any insulation project should always be to research your options and make a decision on which product is right for your needs.
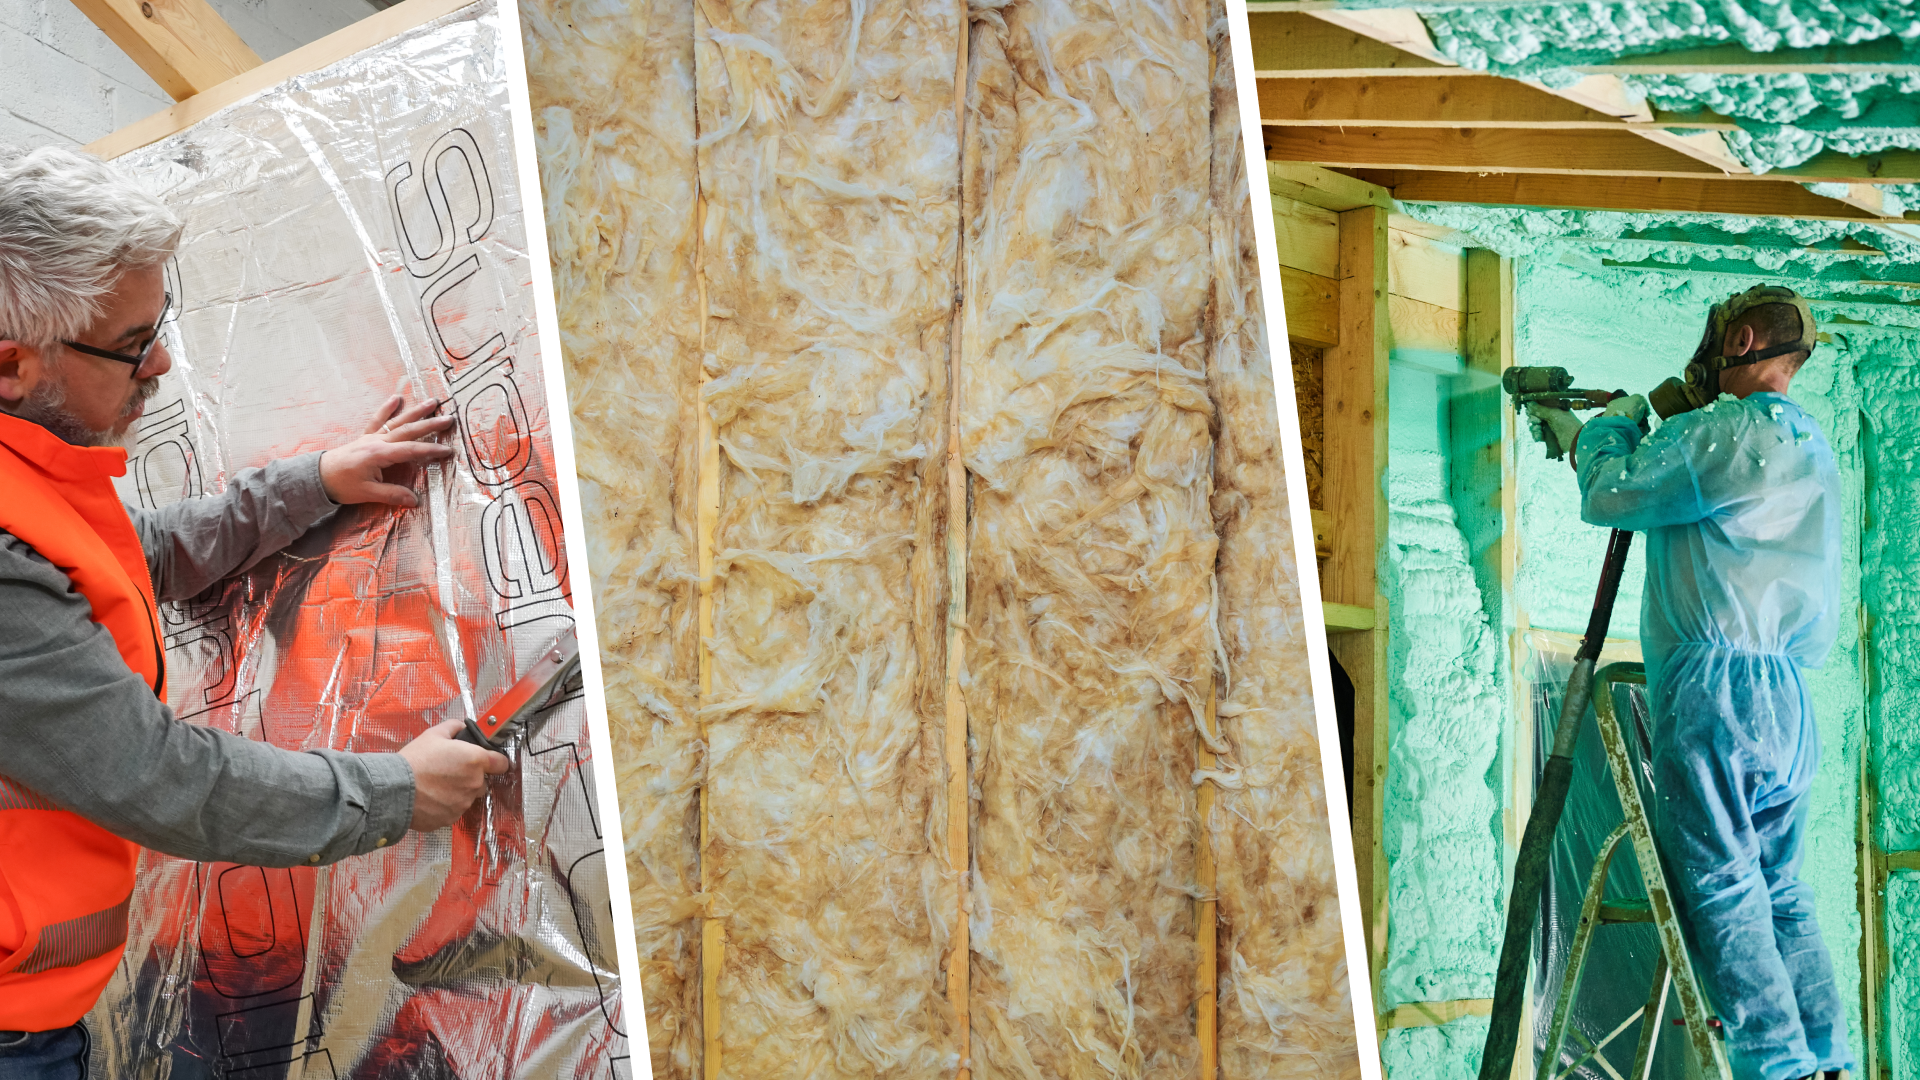
There are plenty of potential options at your disposal, but we won’t waste your time going through them here. Instead, we want to take a moment to cover some important things to consider when looking through your options…
As the old saying goes, if you fail to prepare then you are preparing to fail. It’s probably best to avoid that, so let’s take a quick look at how you can — and should — prepare for your shed insulation project.
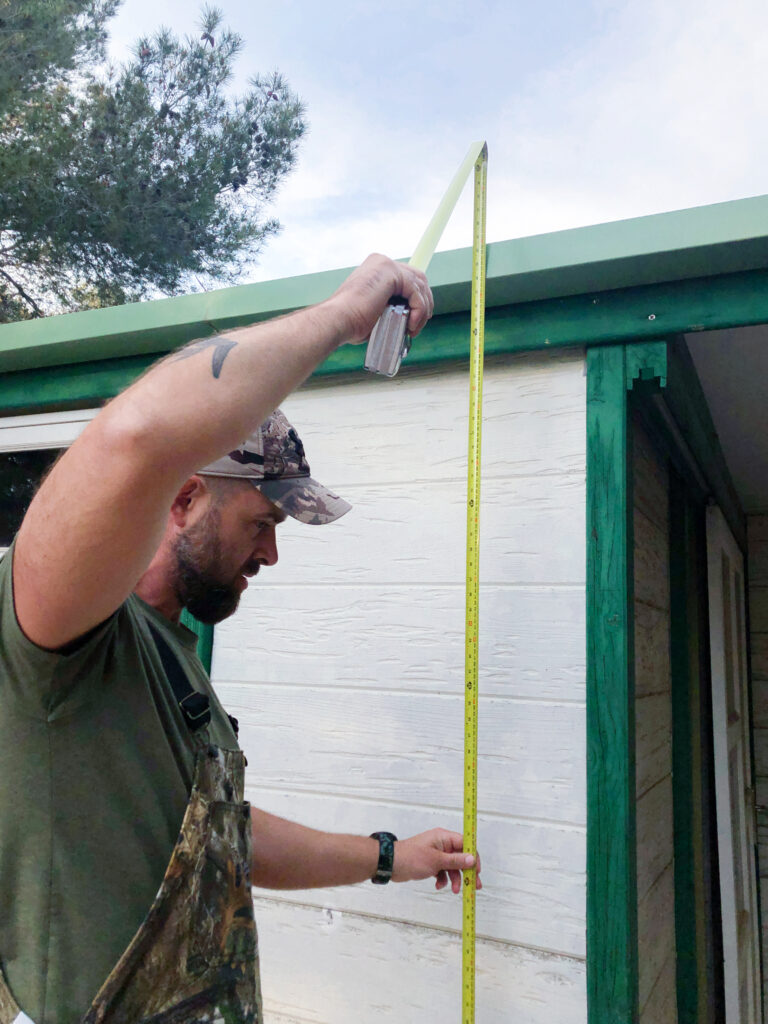
To kick things off, you’re going to need to get some solid information about the size of your shed, using your measurement tool of choice. We’d recommend a tape measure, but feel free to use whatever tool you have access to.
Except a ruler. Don’t use a ruler, unless you’d like to waste a lot of time getting untrustworthy measurements that is.
Once you’re done, make a note of your measurements (remember that you’ll need to measure length, width, and depth for every area you want to insulate).
With these measurements to hand, you’re ready to move on to the next step.
If you’re planning on hiring a professional to install your insulation for you, then this that’s all you need to do in terms of preparation, since your installer will be the one to take care of the rest.
However, if you’re planning to go the DIY route instead, then there’s a bit more preparation for you to consider…
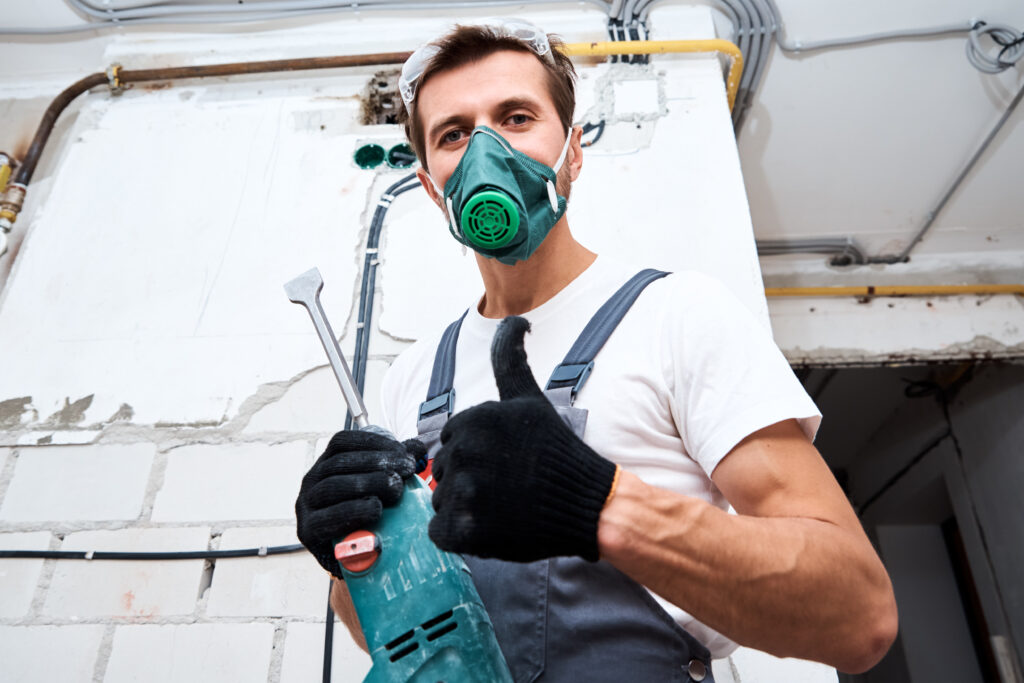
PPE stands for Personal Protective Equipment, and it’s really important if you’re planning a DIY insulation project.
The kind of PPE you need to use will depend largely on the insulation product you’re using. Some products will need you to wear head-to-toe protection, and some — like multifoil — don’t need you to wear any PPE at all.
So, as soon as you’ve decided on a product, make sure to check out what kind of PPE you need and get it before you ever handle your chosen insulation.
Set out a clean, clear space that you can place your tools and materials in during the installation process. This workspace can make the whole installation process a lot easier by giving you a “base of operations” to come back to whenever you need to.
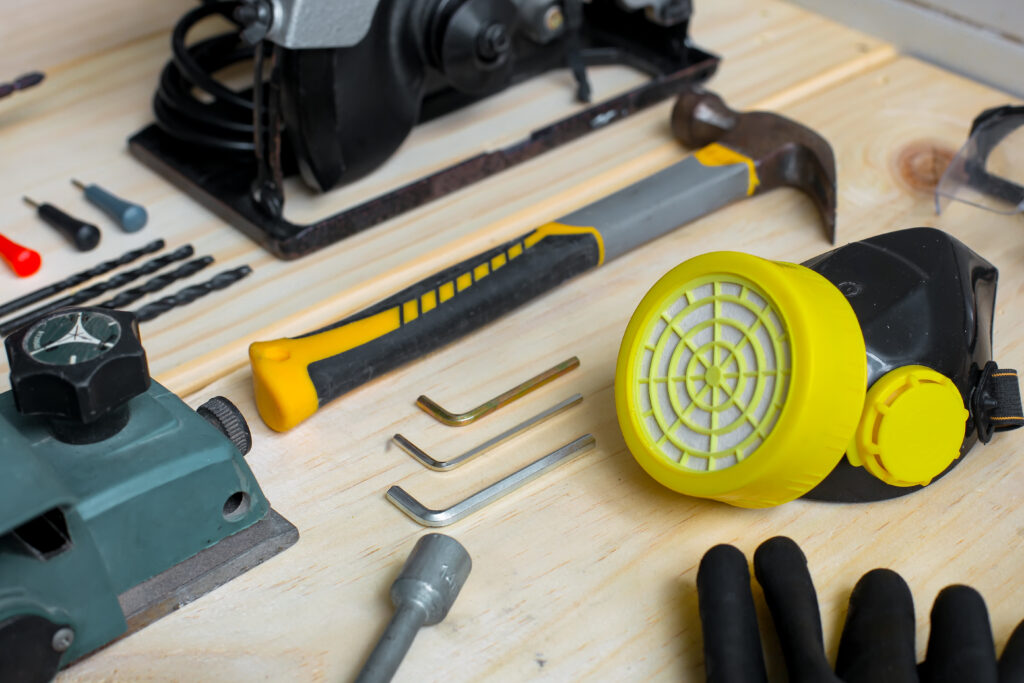
As part of setting up this workspace, you should collect and assess all of the tools you are going to need throughout the installation process.
Not only will this help you to make sure you have everything you need ahead of time, but it will also help you to make sure all of your tools are in good-condition too. After all, the last thing you want is for one of your tools to fail in the middle of your install.
Right before you dive into the actual installation process, it’s definitely worth taking some time to see if you can handle any of the preparation for your insulation ahead of time.
For example, if you know you’re going to need to cut your insulation to a certain size and shape, then you should absolutely handle that work before you’re in the thick of the actual installation itself.
That way, you know that your insulation is already prepared and ready to go straight into your shed; keeping your actual installation process as simple and straightforward as it possibly can be.
Obviously, the right way to do this is GOING to depend on the product that you end up deciding to use, which brings us to an incredibly important point to clarify…
The advice we’re about to give is intended as general guidance on how to install bubble foil and/or multifoil insulation!
As much as we’ve taken care to make this advice as useful as possible for everyone, it’s VERY important to understand that — unless you are installing a multifoil or bubble foil product — this guidance might not apply to the product that you are intending to use.
We always recommend that you follow any and all installation guidance provided by the manufacturer of the insulation product you are using. Or, failing that, you should seek out guidance intended for the product type that you are using. And there, at least, we can help you out…
So, before we get into our multifoil instructions, let’s cover a few sources we’d recommend if you’re looking for guidance written for other popular insulation products.
But with that being said, let’s get down to business and explain how you can insulate your shed using multifoil insulation…
Collect the Tools You Need:
The first thing you need to do is get your tools together. Here’s what you’ll need:
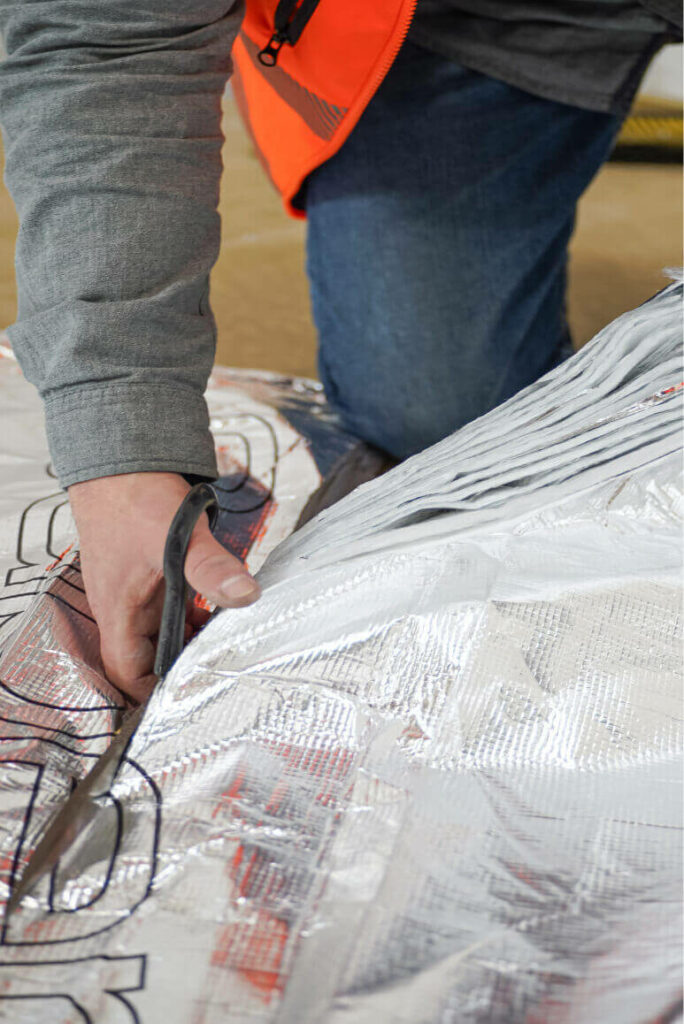
Prepare Your Insulation:
Before you get into your shed itself, you should take some time to cut and seal your multifoil into the size and shape you need it to be. If you’d like some insights into the best way to cut and seal mutlifoil, we’ve put together a post on the topic that you can read right here: How to Cut and Seal Multifoil
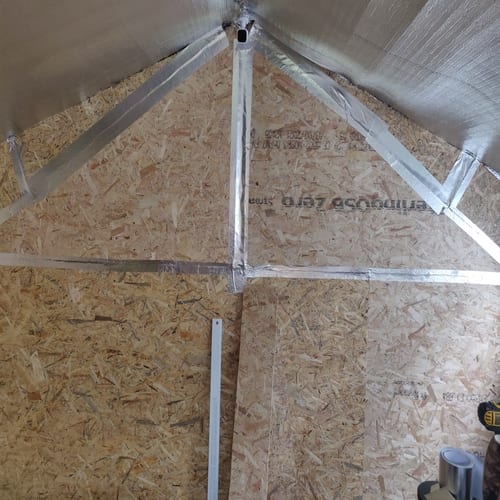
The installation process for multifoil is both straightforward and widely applicable, meaning you’ll be able to apply the same basic process regardless of whether you are insulating the roof, wall, or floor of your shed.
Expert Tip: When fixing multifoil in place, make sure to press your stapler firmly into the product in order to compress the layers of the product, resulting in a secure, reliable connection. What’s more, you should avoid leaving a space greater than 300mm between each fixing point.
It’s important to remember that this is an overview of the install process for multifoil. If you do decide to use multifoil in your shed insulation project, then we would always recommend seeking out specific installation guidance (like this) provided by the manufacturer of the product you’re using.
Air gaps are an essential element of multifoil performance. So, if you want to make sure you’re getting the best possible performance, then you’ll need to make sure you’re incorporating these into your shed.
For the absolute best results, you should include two air gaps on either side of your insulation. Here’s how to include them in your insulation process…
Expert Tip: The ideal size of your air gaps depends on whether you are insulating the roof, wall, or floor of your project. We cover the details of each in our post answering the question Will Air Gaps Make Reflective Insulation More Effective?
Applying Your Finishing Materials:
Once you have fully installed your multifoil product, it’s vital that you close off your installation by installing a suitable finishing material over the top of your insulation.
There are plenty of potential finishing materials available for you to choose from, but the most common (and often easiest to work with) is plasterboard for roof and wall insulation and plywood (or similar) for floor insulation.
If you like the idea of a Multifoil Insulation upgrade to your shed, but you aren’t sold on the prospect of installing the insulation yourself, then don’t. Instead, you’ll need to hire a professional installer to handle the job for you.
Fortunately for you, it’s never been easier to hire a professional to handle this kind of work around your home. Pretty much all it takes to find a professional offering pretty much any service in your area is to search something like: professional insulation installer near me.
Of course, once you’ve found a pro you like the look of, there is a little bit of extra work that you should do before getting in touch with them about the job…
Alternatively, if you’d rather skip all of that too, then you’re likely best served by seeking out service designed to connect professionals with customers like you. Our Approved Installer Programme, for example, allows us to connect homeowners with installers that we’ve personally trained and provide continuing technical support to, allowing the homeowner to work with a professional they can be confident in.
So, by relying on a service like this, you could skip a lot of the busywork involved in finding an installer that’s a good fit for your project.
If you’re planning to use SuperFOIL in a project of your own and you’d like some support to make sure you get it right, then we’d be more than happy to offer any support you might need.
Whether you’re looking for an expert opinion on the solution you’re planning to use, some guidance on the right products to use in your specific project, or a connection with an expert installer — we take pride in offering 100% free, no-strings attached support to anyone and everyone who needs it.
If that sounds like something you’d like, then give our free discovery sessions a try. Or if you’d prefer to talk to us directly, you can always reach out by calling 01636 639 900 or by sending an email to [email protected].
If you’d like to be the very first to find out about posts like these, then all you need to do is fill out the form below to join our mailing list…
That being said, you absolutely don’t have to wait for more content like this. We’ve been sharing expert information about insulation for years, and it’s all available for you to find, right here on this website.
So, feel free to take a look at our most recent posts and case studies…
…to learn as much as you’d like about all things insulation, and how we’re working to Change The Way You Insulate!
Or, click the link below to see our last post…